I've been using Ngrokfor a few months to expose some local services to the Internet, so that I could investigate issues with my colleagues more easily. Ngrok works pretty well and is super easy to set up, but if you want to use custom domains then you'll need to pay a fee.
It's not very expensive, but I am trying to cut costs with all my subscriptions so when I found out about a free alternative in Cloudflare Tunnel,I decided to switch. One thing I like a lot about Cloudflare Tunnel is that I can use my own domain and subdomains even with the free tier, which is awesome. Cloudflare Tunnel is a bit less straightforward to set up as Ngrok though, so I'll describe how to do it in this post.
Setting up a tunnel
I'll assume you already have a domain with Cloudflare so I won't cover that here, since creating an account with Cloudflare and transferring a domain is very straightforward.
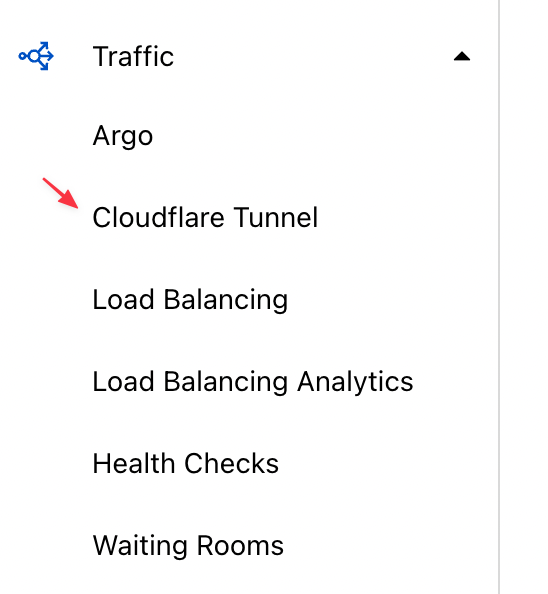
You can find the link to the tunnels page in the left menu in Cloudflare for your domain, under Traffic:
You won't be setting up tunnels from the page that the above link opens. Instead, on that page you'll be following the "Launch Zero Trust Dashboard" link to access the another dashboard.
From here you'll need to go to Access > Tunnels on the left menu, and then click on the Start tutorial button to create your first tunnel.
The wizard will show you how to install the Cloudflare CLI, cloudflared, and how to log in to Cloudflare with the CLI with the
cloudflared tunnel login
command. This will open a browser window where you can authenticate with Cloudflare as usual and authorize the CLI to access a domain of your choice.
In the next step, you create the actual tunnel:
cloudflared tunnel create <TUNNEL NAME>
If the CLI is authenticated and the command is successful, it will print out a tunnel id which you will need to reference in a configuration file. The previous command should also create a credentials file in ~/.cloudflared/<tunnel id>.json, which will be used to authorize the various commands available for managing tunnels.
The configuration file
This is the "less straightforward" part of the setup, because the information in the documentation is a bit confusing and admittedly it took me longer than a couple of minutes to figure out how to write a configuration file for a single tunnel backing multiple applications, which is what I needed (with the free tier you can only create a single tunnel, but there seems to be no limit to the number of applications/services you can configure with it).
I'll save you some time and share an example of configuration file that is similar to what I use now. Create the file /<home directory path>/.cloudflared/config.yml with the following content:
As you can see, with the ingress rules you specify each service with the hostname you want to use and the port of the service running locally; Cloudflare Tunnel will then proxy any requests to the hostname you specify to the local service. Please note that the base domain you use here should be the one you for which you authorized the CLI.
Please also note that you must add a catch all rule for the http_status:404 service at the very bottom for requests resulting in 404s. Without this rule you will get some errors.
DNS records
The next step is to create a DNS record for each service we want to use with our tunnel. There's a handy command for that too:
cloudflared tunnel route dns <TUNNEL NAME> <SERVICE HOSTNAME>
You'll have to do this for each service in the configuration file. Note that you may have to wait a little time for the hostnames to resolve. For me it's usually almost instant though.
Starting the tunnel
Finally, to start the tunnel you can run this command:
cloudflared tunnel run <TUNNEL NAME>
If all went well during the setup, Cloudflare will start forwarding requests for each hostname in the config file to its corresponding local service.
Wrapping up
Cloudflare Tunnel requires a few more steps for the setup compared to Ngrok, but it's still pretty easy and I love that I can use my own domain without paying anything. I also prefer custom hostnames that are easier to remember with my own domain to whatever hostnames Ngrok gives me.
I am passionate about WebDev, DevOps and CyberSecurity. I am based in Espoo, Finland, where I work with the backend team at Brella.
I also started again "building in public", and the first project is DynaSite, a static site and blog hosting platform with an a visual page builder and cool AI features.
If you like my content or my open source tools, please consider sponsorsing me.
My roles as architect, coder and technology enthusiast overlap each other here on this web log.
Unless otherwise noted, the views expressed on these pages are mine alone and not those of my employer.

 I am passionate about WebDev, DevOps and CyberSecurity. I am based in Espoo, Finland, where I work with the backend team at